
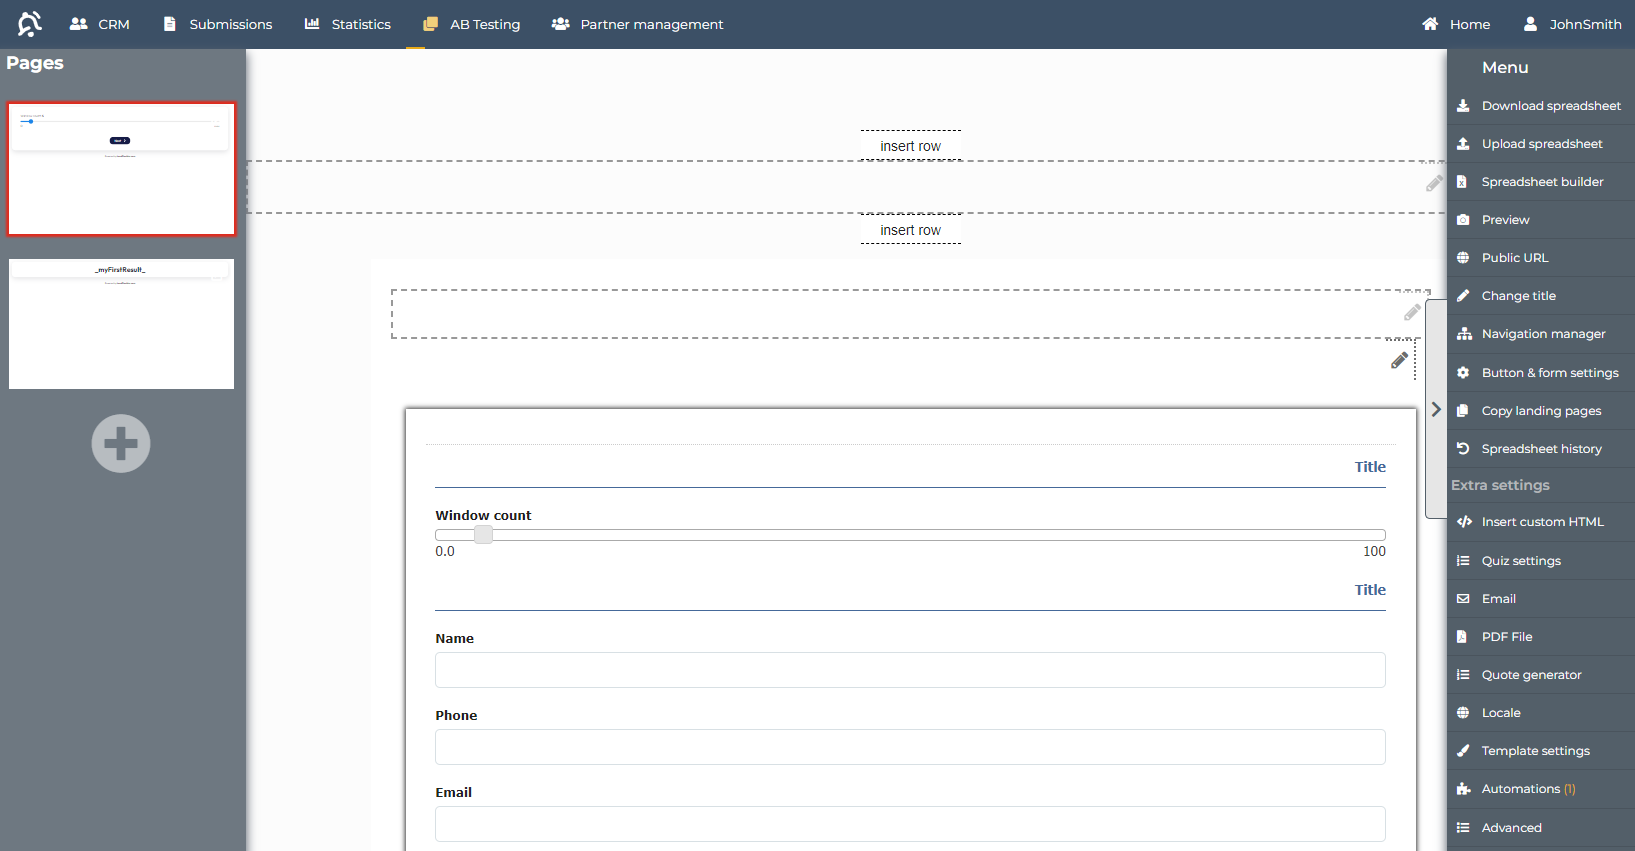
Calculator editor overview
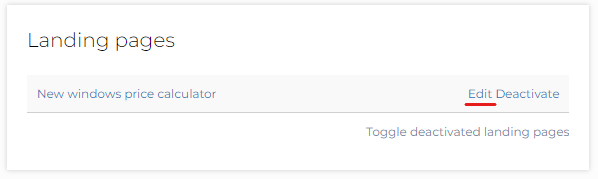
To get to the calculator editor, start by, start by clicking "Edit" on the calculator you wish to edit on your dashboard:
Download/Upload Spreadsheet
The 'Download Spreadsheet' and 'Upload Spreadsheet' functions are used to retrieve the spreadsheet behind each landing page. When uploading a downloaded spreadsheet, it is recommended to ensure that the ID in the URL matches the ID on the file you are uploading. This prevents uploading an incorrect spreadsheet to the page:
Preview
The 'Preview' function is used for the following:
- To modify the URL of your calculator (Read more)
- To find the embed code for placing the calculator on your own website (Read more)
- To copy and move a calculator to another user you have been invited to and have the correct rights, (Read more)
- To download all entries on each individual landing page.
Public URL
The 'Public URL' button opens the calculator in a new tab, allowing you to see it as it should appear.
Note: We do not recommend using the 'Preview' button for this, as it does not load all elements of the calculator. This can sometimes result in a wrong display or non-functional features.
Change Title
This function is used to modify the title of the page (the text appearing at the top of your tab)
Button & Form Settings
This function is used to:
- Modify the text off the Call To Action (CTA) button, which submits the form and continues to the next landing page in your flow.
Note: This will only work on calculators not using the Quiz format. - Enable or disable a loading overlay when submitting the form in the calculator.
We recommend enabling this setting. - Enable or disable the page from saving all previously entered values:
We always recommend having this enabled only on the first page of your flow, and disabled on all other subpages.
If this setting is enabled on pages other than the first, it will cause the page to forget all previously entered values when the user gets to the page.


Copy Landing Pages
This button gives you the option to make a copy of either your entire calculator flow or just the landing page you're currently on.
When you make a copy, the copy is placed on your dashboard under landing pages.
Spreadsheet History
This shows all spreadsheets that have been uploaded to the landing page you're currently on, allowing you to always retrieve an older version.
Insert Custom HTML
Insert Custom HTML is where you insert your own CSS, JavaScript, tracking scripts, and find potentially predefined code such as colors and fonts which are easily accessible and possible to change if needed. The code is is divided into 2 sections:
- Custom HTML
- Analytics code
The main difference between the two is that the code placed in 'Analytics Code' does not run when you are working on the page within the platform, which can be advantageous for tracking and JavaScript, e.g., when creating redirects.
When writing code in one of the two sections, always remember to enclose your code in either <style> or <script>, depending on your needs.
jQuery 2.1.1 and jQuery UI 1.11.2 are included on all templates and calculators and can be used when adding JavaScript.
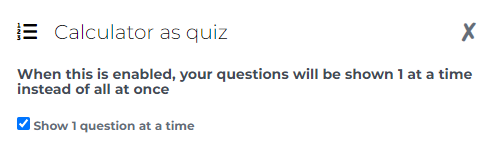
Quiz Settings
Here, you can enable whether the calculator should be displayed in quiz format. The quiz format typically means showing one question at a time instead of all at once:
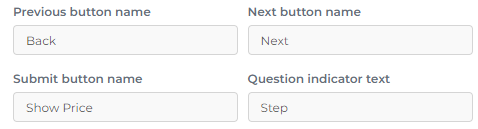
When the Quiz format is enabled, you also get forward and backward buttons and page counts. However, this can vary from template to template. If the buttons are shown, you can modify the text of various elements here:
You can also group your inputs. For example, when asking for contact information (name, address, telephone, email, etc.) and you want these on the same page, you can group them by using headings in the spreadsheet and enable this setting:

Template Settings
This is used in some templates to set a background for the calculator. You can enter a color (#FFFFFF, rgb(255,255,255), white), or a URL to an image you want to use as a background:
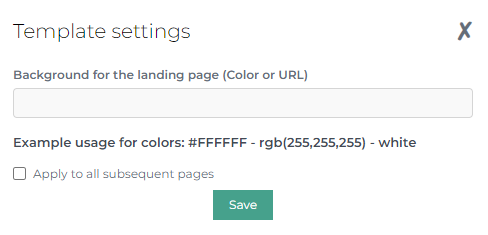
If you check "Apply to all subsequent pages", it applies the setting to all subsequent landing pages in your flow.
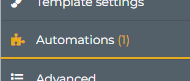
Automations:
'Automations' is where you configure all different integrations (both external and internal) that our calculators can connect with. So, if you want to send an email when a person has submitted their information, create a deal in our CRM system, send contact information to HubSpot, etc.
On the 'Automations' button, you can also see the number of automations on the landing page you are on, indicated by the number in parentheses:
When you click the button, you can see which platforms and systems we are integrated with, and then you just click on one of them to add that automation to your landing page:

Pages (menu to the left)
In the menu on the left, you can see the entire flow of landing pages that each calculator consists of:
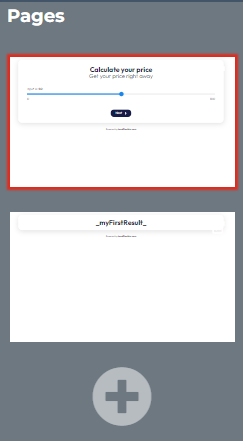
In the above example, we have 2 pages, an input page and a result/thank you page. The red border around the page indicates which page you are on.
If you want to switch to one of the other pages in the flow, simply click on the page in this menu, after which the page updates and displays the content for the corresponding page, and moves the red border to the one you clicked on.
Finally, there is also a plus icon at the bottom. This is used to add a new page to the end of your flow. You can choose to insert a page from our template library or copy the page you are on and add the copy at the end of the calculator:
