
Creating a new calculator
The process of creating a calculator can vary depending on whether you already have a calculator or not.
If you already have a calculator, a new one can be created by clicking the large "NEW CALCULATOR" button on the dashboard:

Next, you'll be asked to choose whether you want to select a template from our template library or use our builder tool. The builder tool guides you through building a calculator based on an existing spreadsheet:

If you haven't created a calculator yet, then after logging in click on the "Create your own LeadDoubler" button:

After clicking on the button you will see the following page:
This page is identical to the one you'd see when creating a calculator from a spreadsheet instead of a template. You can still access the template library from this page by clicking here:

Creating a Calculator from Template Library

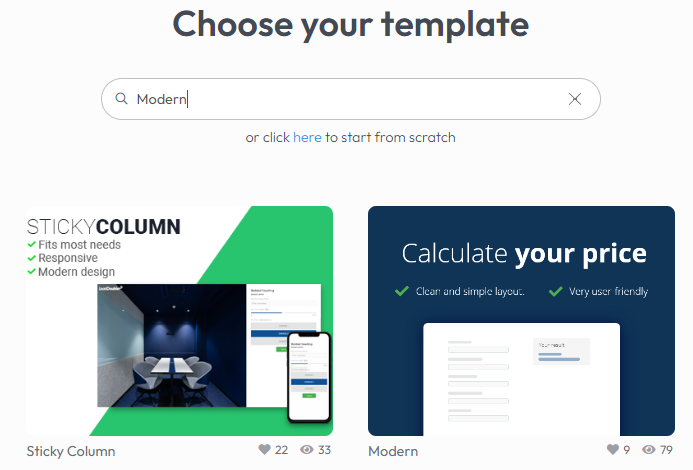
Step 1
Search for the template or click on the template you wish to create:
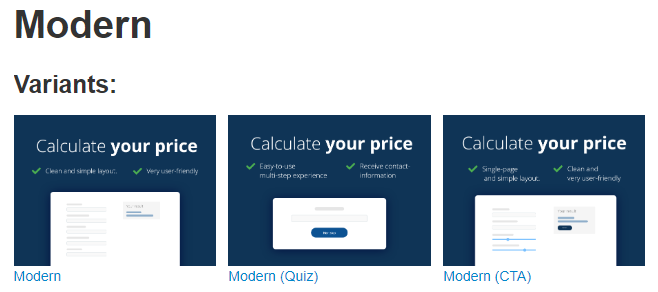
You'll then be directed to a page that provides more information about the selected template. If there are different versions of the template, these will appear as "Variants":
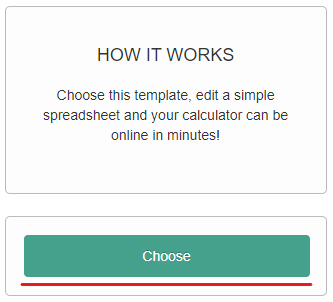
Step 2
Once you've found the template you want to use, click "Choose" on the right side of the template page:
Afterward, you'll be taken to our editor where you can make changes to the calculator.
Creating a Calculator using the Builder Tool
Step 1
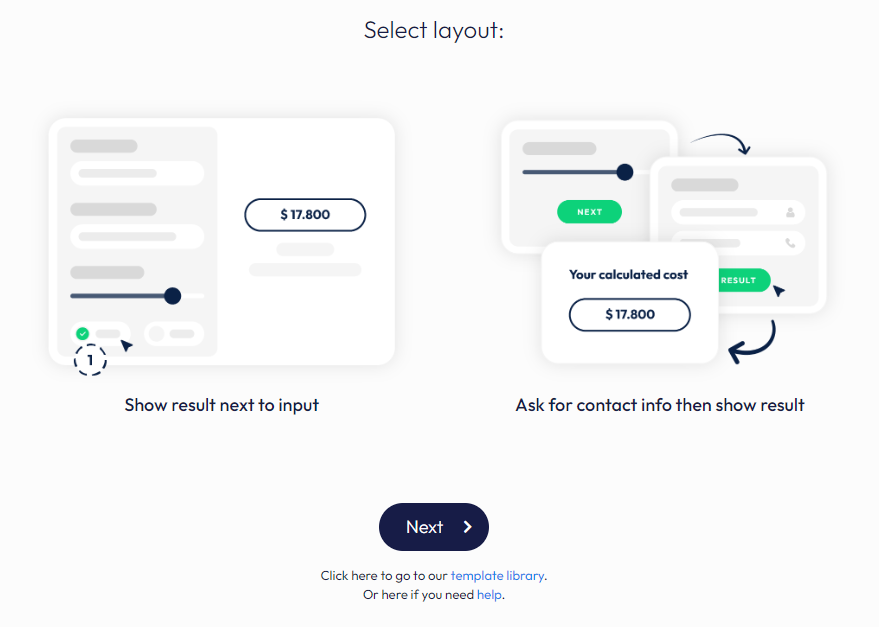
Begin by selecting the desired calculator layout:

Note: If you select "Show result next to input," skip to Step 3
Step 2
Select the information that the calculator should ask for, then click the "Next" button:

Step 3
Click the "I have a spreadsheet ready to be converted" button, which will guide you to our build flow:

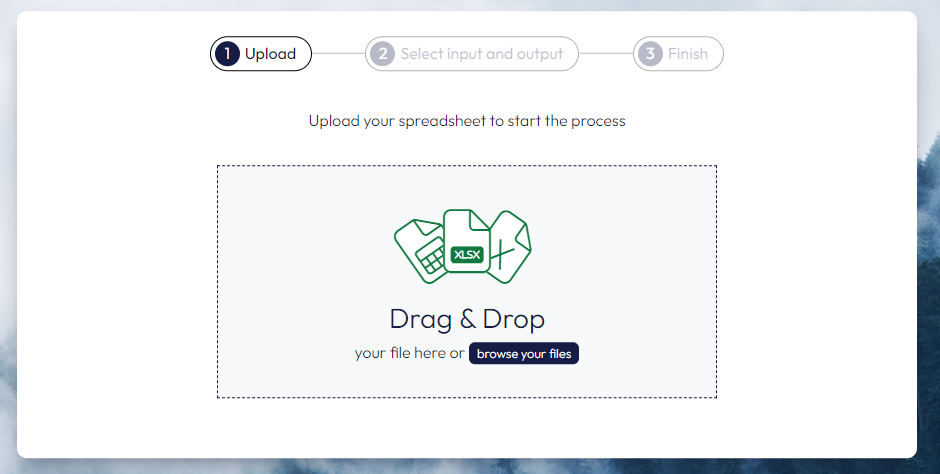
Step 4
Drag and drop your spreadsheet into the box as shown below, or click the "browse your files" button to find your spreadsheet:
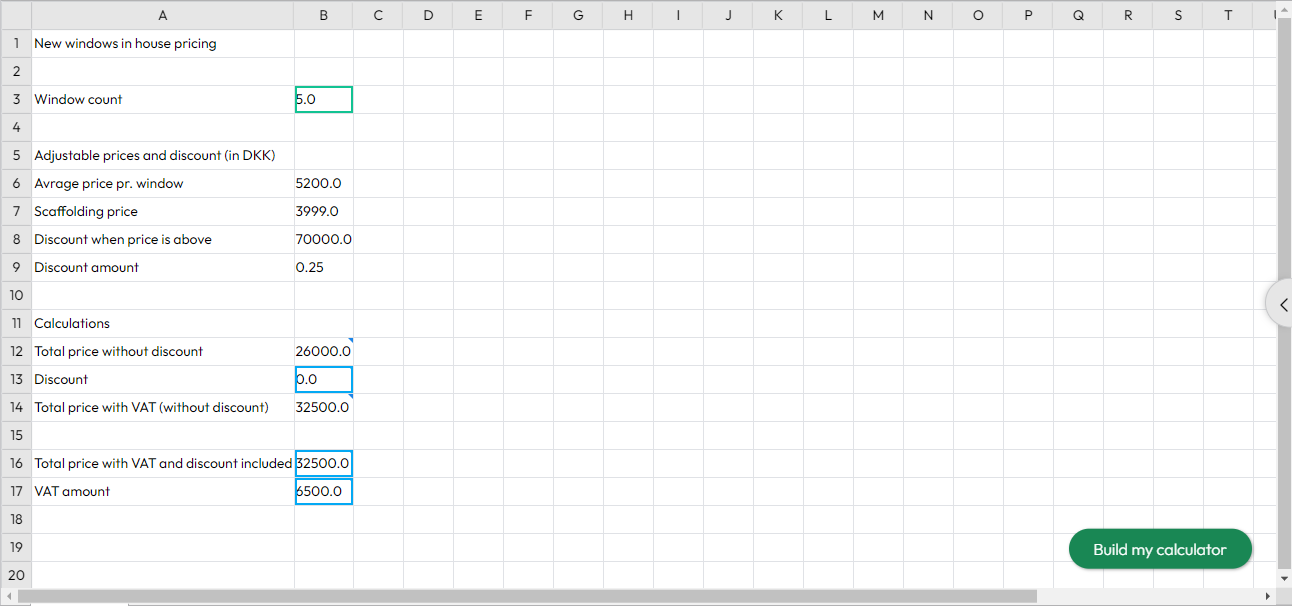
Step 5
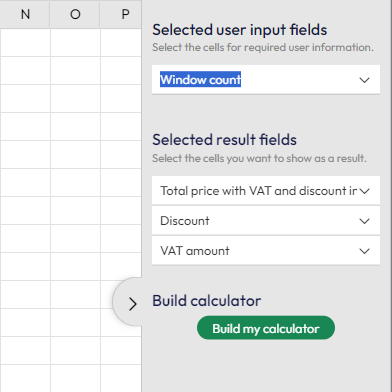
Click the "Add user input" button to start selecting the fields to be used for the calculator, then click all the fields that you want to include:
Once you have selected the fields, the edge around the field will turn either green or blue:
🟩 Input fields: The information we need to ask the user taking the calculator in order to calculate the price
🟦 Output fields: The values of our calculations that we need to show the user (price, VAT, and etc.).
The tool automatically determines the type of field based on whether there is a formula in the field or not. If you wish to change the name of a field, you can do so by expanding the menu to the right and editing the text for the field:
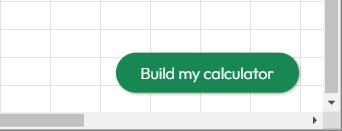
Step 6
After selecting all the fields you want to include in the calculator, click the "Build my calculator" button, which will then create the calculator:
Step 7
Once the calculator is created, you'll see the following display with three buttons:

Add to my website:
Clicking here making it possible to add the calculator to your website, click the style you want, and follow the instructions on the page.
Use as standalone with URL:
This button opens your calculator in a new window, making it possible to copy the direct URL for the calculator.
I need help:
This button redirect you to our help booking system where you can book a short meeting with one of team members to help you with any questions you might have.