Creating a new pipeline
Step1
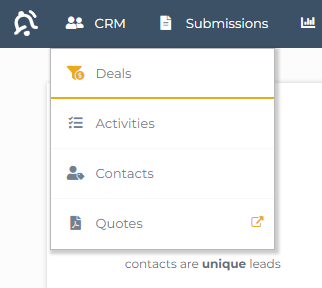
- To create a new pipeline, start by clicking Deals in the CRM menu:
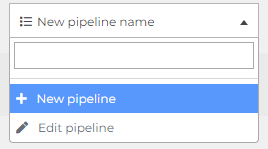
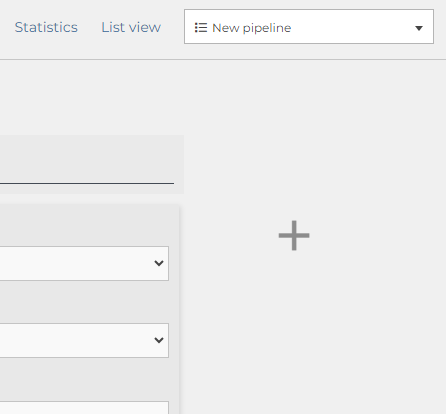
- Then press on the dropdown menu in the top right corner and select "New pipeline":
(If no pipelines have been created yet, it will automatically go to the creation process)
Step2
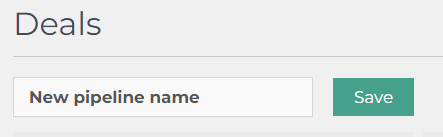
Naming your pipeline
You give your pipeline a name by entering a name in the field below (do NOT press save until all pipeline settings are made)
Defining Stages in Pipelines
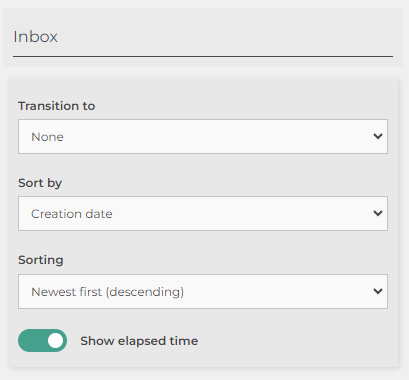
Naming Stages
You can name a stage by altering the topmost line indicated as "Inbox" in the example.
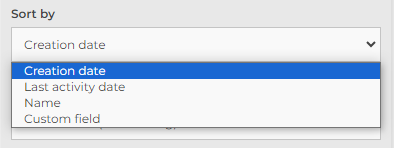
Sort By
Determine the order in which your deals should be displayed within the stage:
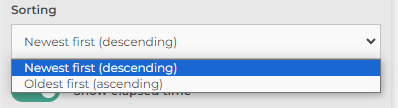
Sorting
Decide if you want to view the newest or oldest deals first:
Show Elapsed Time
If enabled, this feature displays the duration a deal has been in the current stage.
Creating a New Stage
You can create a new stage by clicking on the large plus icon located to the right of your stages:
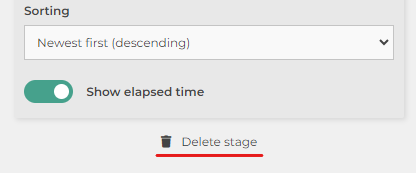
Deleting a Stage
You can delete a stage by hovering your cursor over the stage you wish to remove. A "Delete stage" button will appear beneath the stage. Click on this button to delete the stage:
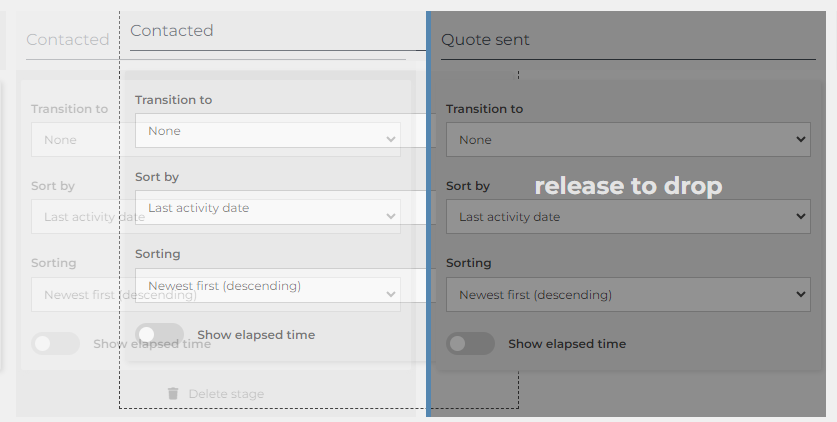
Stage Order
To modify the order of stages, drag and drop the stage to its new position. Hover your cursor over the stage you want to move, grab the background of the stage, drag it to the new position, then release it:
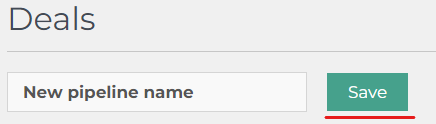
Saving the Pipeline
After configuring your pipeline, save it by clicking on the "Save" button located at the top next to where you name your stage: